
Why Your Storage Method Makes or Breaks Baked Goods
Picture this: you’ve just pulled a batch of perfect, gooey chocolate chip cookies from the oven. Or maybe you treated yourself to an artisan sourdough loaf from your favorite local bakery. But fast forward 24 hours, and that initial joy turns to disappointment. Your soft cookies are now rock-hard, and that beautiful loaf of bread has become an expensive doorstop. If this sounds familiar, you’re not alone. Most people accidentally ruin their baked goods with simple storage mistakes. The best way to store baked goods isn’t some well-kept secret; it’s about understanding what happens when your treats are exposed to air, moisture, and temperature.
The Science of Staling and Freshness
When bread or cake goes stale, it’s not just a matter of it drying out. The real culprit is a process called starch retrogradation. As soon as a baked item cools down, its starch molecules start to recrystallize. This action squeezes out moisture and hardens the crumb, which is why bread gets tough and cakes become dry and crumbly.
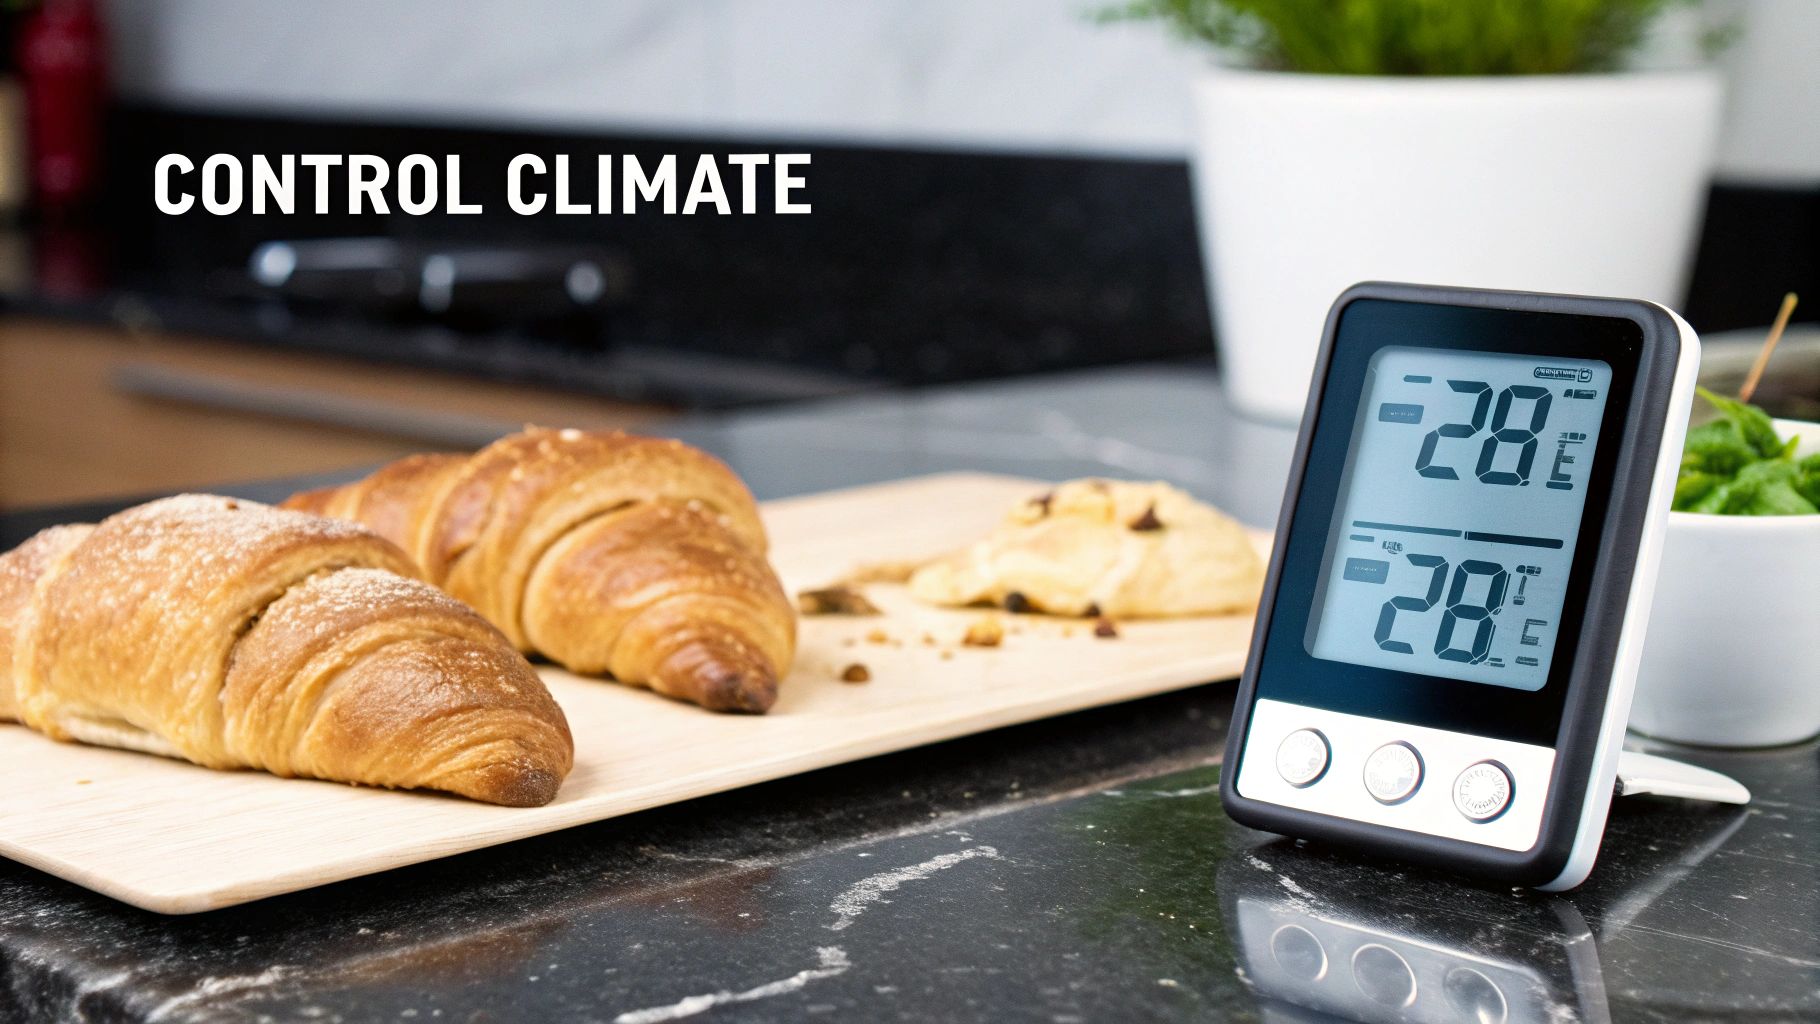
Temperature and humidity play a huge role in this process. For example, putting bread in the refrigerator actually makes it go stale much faster than leaving it at room temperature because the cold speeds up starch retrogradation. This common misunderstanding is a big contributor to food waste. Industry reports show that 30% to 40% of all bakery products are wasted after they’re made, often because they spoil too quickly.
Why One-Size-Fits-All Fails
Every baked good has its own unique needs. A crusty sourdough loaf needs to breathe a bit to keep its signature crunchy exterior. On the other hand, a frosted cupcake requires an airtight seal to protect its delicate icing and keep the cake moist. Tossing both into the same plastic container is a recipe for a texture disaster—one might turn soggy while the other dries out completely.
Learning how to properly store different types of treats is the first step toward enjoying them for longer. A few simple adjustments can make all the difference.
Mastering Room Temperature Storage Techniques
Getting room temperature storage right is often what separates a happy home baker from a disappointed one. The secret isn’t just about grabbing any old container; it’s about understanding which of your creations will do best on the countertop and how to give them the perfect little home. The best way to store baked goods at room temperature comes down to one key concept that professional bakers have mastered: the difference between breathable storage and an airtight seal.
Breathable vs. Airtight: A Tale of Two Textures
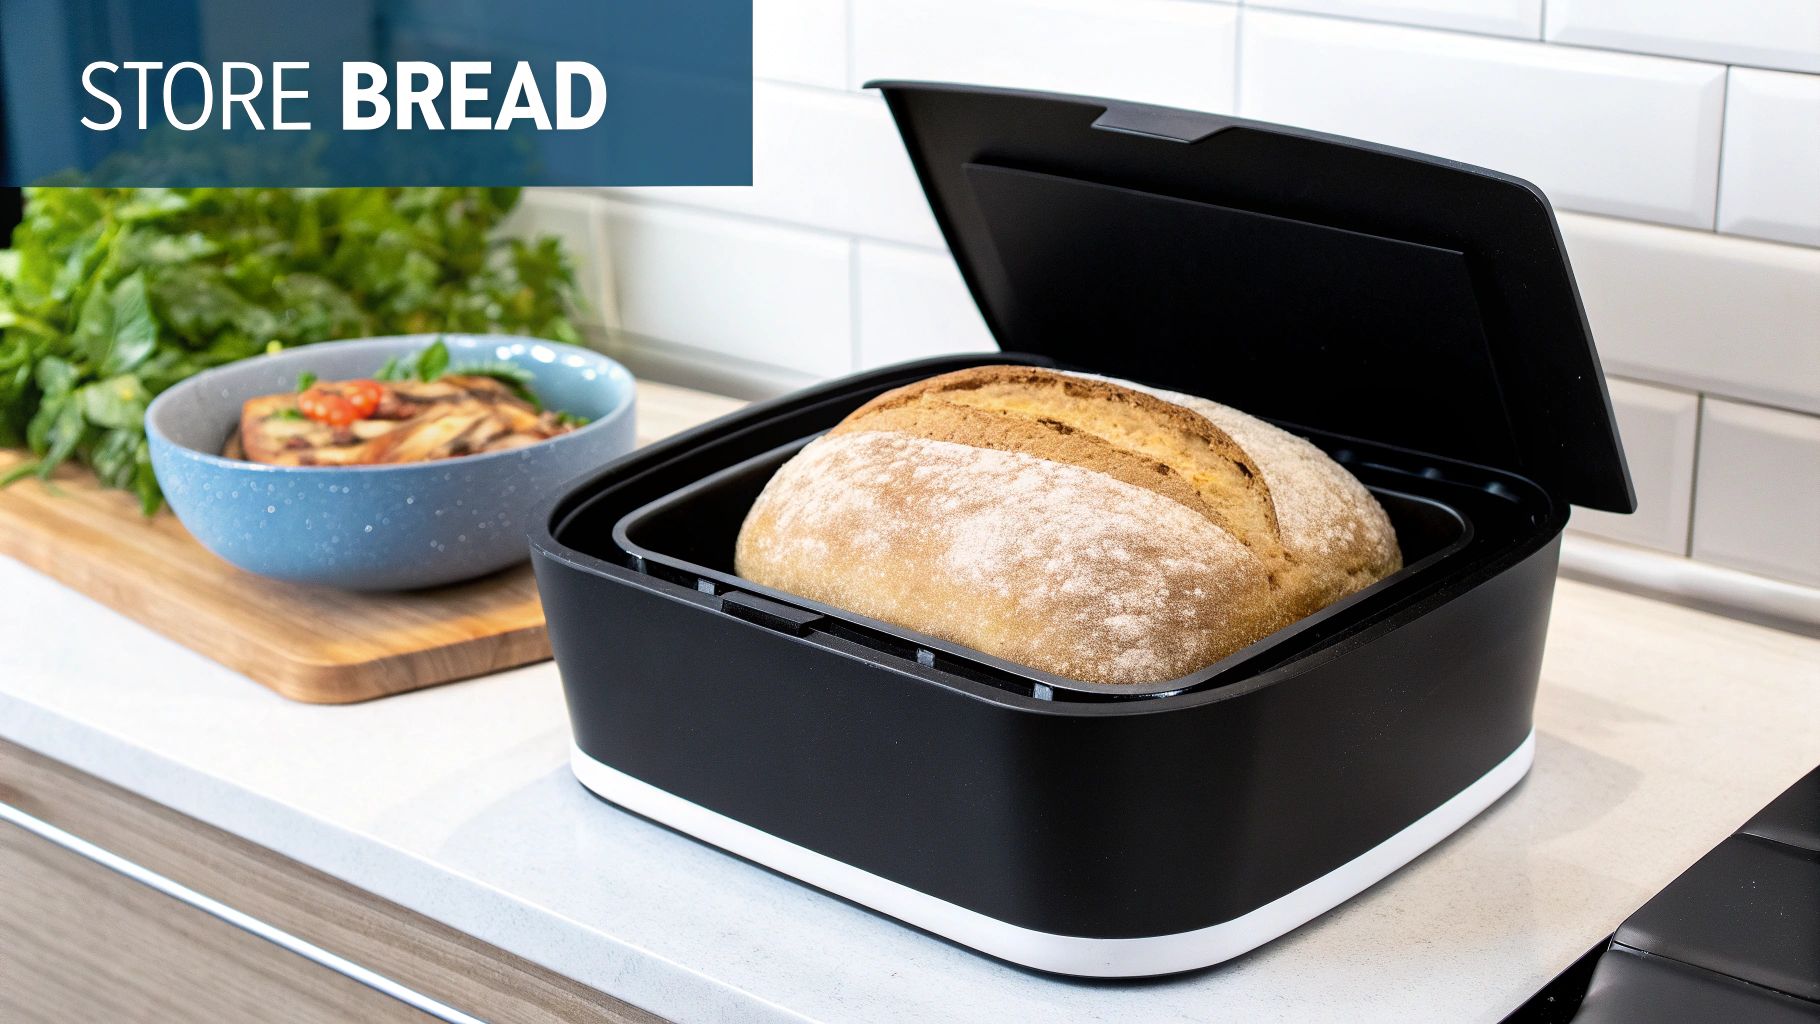
Imagine your baked goods have their own personalities. That crusty artisan loaf you just pulled from the oven needs to breathe to keep its amazing crunchy exterior. If you wrap it in plastic, you’ll trap moisture, and that beautiful crust will turn soft and leathery overnight. For items like these, a simple paper bag or a classic bread box works wonders. They allow just enough air to circulate, preventing sogginess while keeping the bread from drying out too fast.
On the flip side, soft goodies like frosted cookies, muffins, or a slice of vanilla cake would be completely ruined by that same method. They depend on an airtight container to lock in every bit of moisture and keep them from going stale. Leaving them out in the open will quickly turn your tender, moist treats into dry, crumbly disappointments.
Navigating Common Kitchen Scenarios
So, what do you do when you have a few different types of baked goods? A frequent mistake is to store them all together in one container. If you put a batch of chewy brownies in with some crisp shortbread cookies, the cookies will soak up moisture from the brownies and lose their snap. To preserve the unique texture of each treat, it’s always best to store them separately.
Don’t forget that your kitchen’s humidity plays a big part, too. In a particularly humid environment, even a loaf of bread in a paper bag might get moldy faster than usual. Food science tells us that at a comfortable room temperature of 20–22°C (68–72°F), bread stored with some air circulation stays fresh for about 2 to 3 days. Higher humidity can definitely shorten that window. As this bakery products market analysis shows, environmental factors matter. By paying attention to these details, you can adjust your storage strategy and keep everything tasting just-baked for longer.
When Cold Storage Actually Works in Your Favor
It might seem counterintuitive, but your refrigerator isn’t always the enemy of freshness. While it’s a fact that putting crusty bread in the fridge will speed up the staling process—thanks to a science called starch retrogradation—there are specific times when cold storage is the absolute best choice for safety and quality. The real trick is knowing which of your baked creations need the chill and how to store them properly.
For Safety’s Sake: When Refrigeration Is a Must
Some baked goods are non-negotiable candidates for the fridge. If it has dairy, eggs, or cream in its filling, topping, or frosting, it must be kept cold to stay safe. Think about these delicious treats:
- Cheesecakes and custard tarts
- Anything with a cream cheese frosting (like carrot cake or red velvet)
- Cream-filled éclairs or donuts
- Cakes layered with fresh fruit and whipped cream
Leaving these items at room temperature for more than a couple of hours creates a perfect environment for harmful bacteria to grow. When you’re unsure, it’s always best to refrigerate. The texture might change a little, but food safety is the top priority.
To help you decide what goes where, here’s a quick guide comparing different types of baked goods and their ideal storage conditions.
Refrigeration Guide for Different Baked Goods
A comprehensive comparison showing which baked goods benefit from refrigeration vs. those that should avoid it, including optimal storage times and preparation tips.
| Baked Good Type | Refrigerate? | Storage Time | Special Notes |
|---|---|---|---|
| Cheesecake | Yes | Up to 5 days | Must be refrigerated due to dairy and egg content. Keep it covered to prevent drying out. |
| Cakes with Dairy/Cream Frosting | Yes | 3-4 days | This includes buttercream, cream cheese, and whipped cream frostings. |
| Fruit Pies (e.g., Apple, Cherry) | No (initially) | 2 days at room temp, then 2 more in the fridge | They can sit out for the first couple of days. Refrigerate after that to prevent spoilage. |
| Custard or Cream Pies | Yes | 2-3 days | Any pie with an egg or dairy-based filling (pumpkin, pecan) must be refrigerated. |
| Yeast Breads (e.g., Crusty Loaves) | No | 1-2 days at room temp | Refrigeration accelerates staling. Freeze for long-term storage instead. |
| Muffins and Quick Breads | No (unless they have dairy frosting) | 3-4 days in an airtight container | Refrigeration can make them dense and dry. |
| Frosted Cookies | It Depends | Varies | If the frosting is a simple sugar glaze, no. If it’s a cream cheese or buttercream frosting, yes. |
This table shows that dairy is the biggest factor. Anything with a creamy, custard-like, or fresh cheese element needs to be chilled to stay safe and delicious.
The Right Way to Refrigerate
When you do use the fridge, technique matters. Proper storage prevents your treats from drying out or, worse, absorbing the smell of last night’s leftovers. For a cake with delicate frosting, try the “flash freeze” method: place it in the freezer uncovered for about 15 minutes just to harden the frosting. Once it’s firm, you can loosely wrap it in plastic wrap and put it in an airtight container without smushing your beautiful decorating work.
A crucial tip: always let refrigerated baked goods return to room temperature before serving them. Giving them 30–60 minutes on the counter makes a huge difference. This simple step allows the fats in buttercreams and pastries to soften, which brings out the full depth of their flavors. For example, a slice of cold cheesecake is good, but one that has sat out for 30 minutes offers a much creamier texture and a richer, more complex taste.
Unlocking the Power of Proper Freezing Methods
Freezing is your secret weapon in the battle for freshness, and it’s hands-down the best way to store baked goods for the long haul. When done right, freezing essentially hits the “pause” button on the staling process, locking in amazing texture and flavor for months. But many people make the mistake of just chucking a plastic-wrapped loaf into the freezer and crossing their fingers. A little strategy is the difference between a frosty, disappointing brick and a treat that thaws to near bakery-fresh perfection.
The Double-Wrap System for Success
The biggest enemy of your frozen goodies is freezer burn. This happens when moisture escapes and air seeps in, creating those dreaded dry, icy patches. The trick used by professional bakers is the double-wrap system. First, wrap your item tightly in plastic wrap or a beeswax wrap. Then, tuck that wrapped item into a second, more durable layer, like a zip-top freezer bag or an airtight container. Make sure to squeeze out as much air as you can before sealing it up. This two-layer defense is incredibly effective at protecting the quality of your bakes.
For the best results, your freezer should be at or below -18°C (0°F). At this temperature, your well-packaged treats can last for up to 3 months or even longer. Following this method can seriously extend the life of your baked goods.
Smart Portioning and Organization
Before you start wrapping, think about how you’ll eventually eat what you’re freezing. Instead of freezing a whole cake, why not slice it first? You can freeze the individual slices with small squares of parchment paper between them to stop them from sticking together. This works great for cookies, brownies, and dinner rolls, too. This way, you only need to thaw what you need, which prevents waste and avoids the quality loss that comes from refreezing.
To keep your freezer from turning into a chaotic mess, a simple labeling system is your best friend. This infographic lays out an easy process for keeping everything organized and fresh.
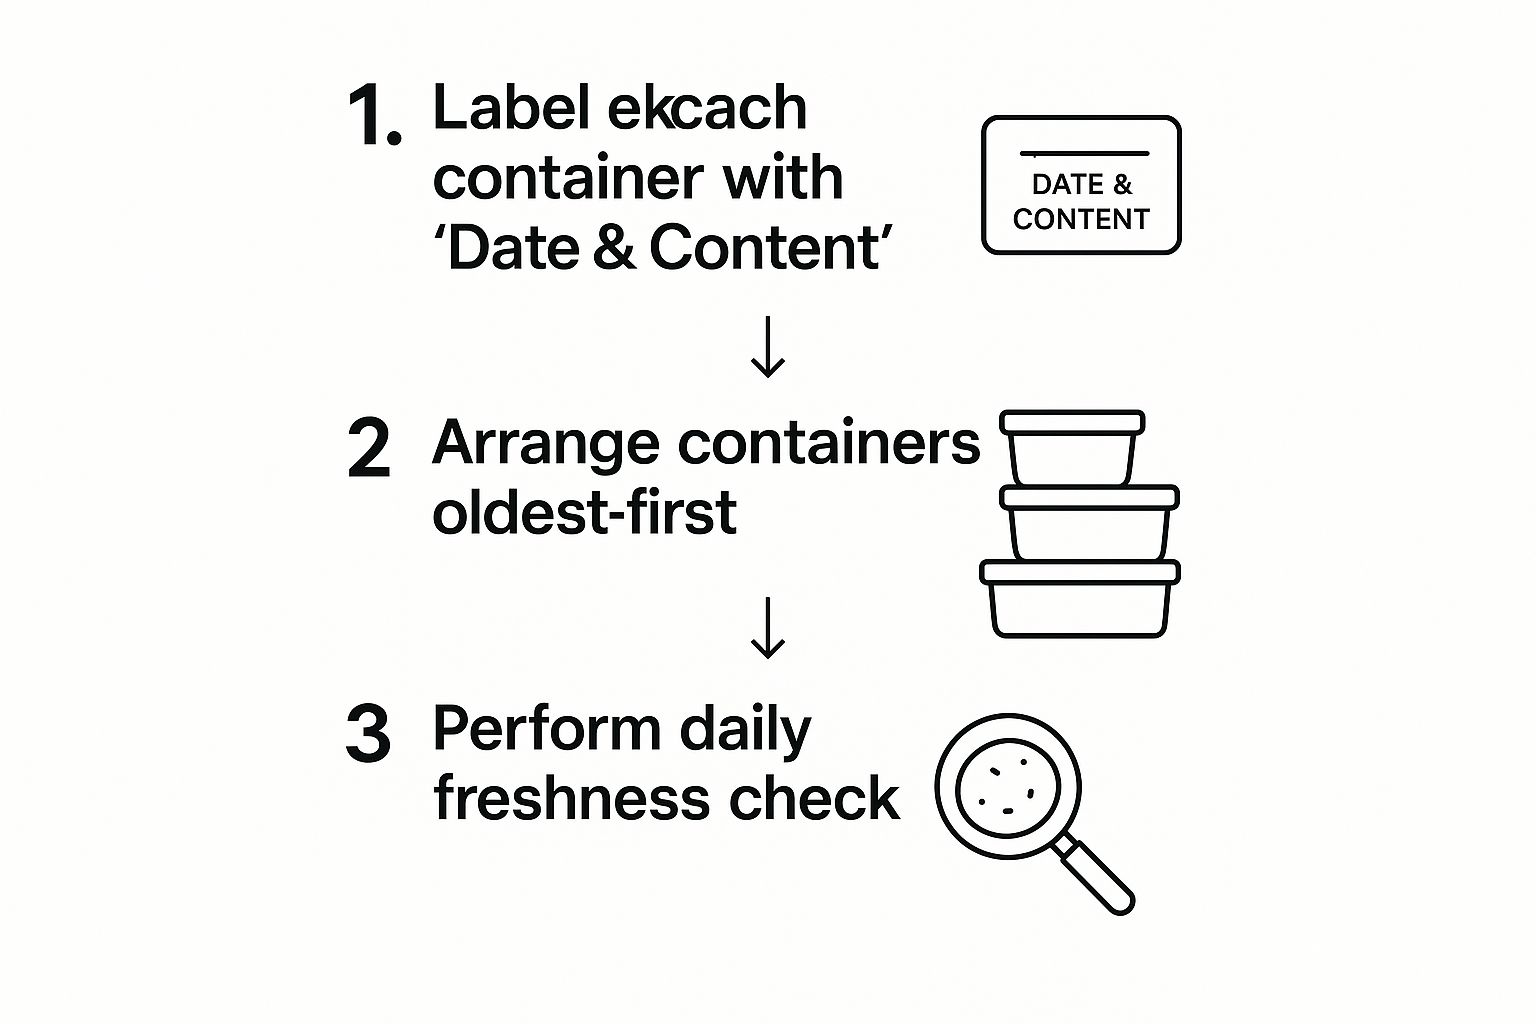
As you can see, a straightforward “first-in, first-out” approach is key. It ensures you always reach for the oldest items first, so no forgotten treasures are left to languish at the back of the freezer.
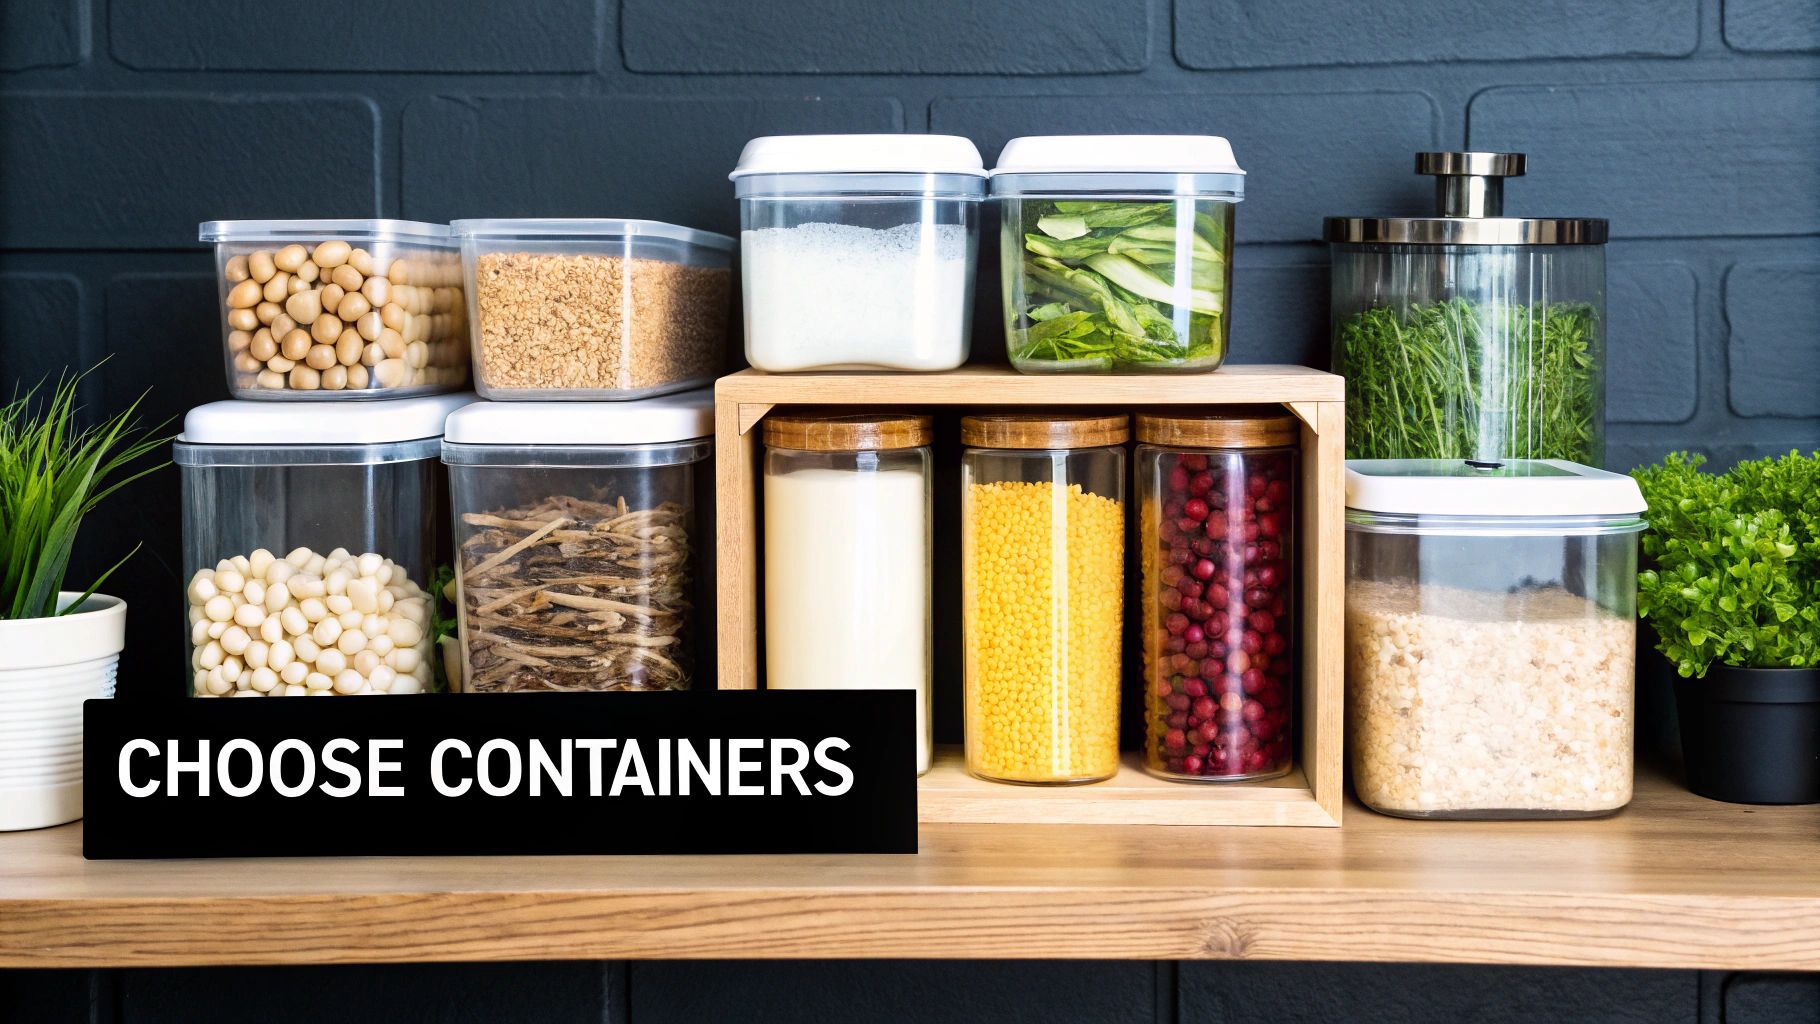
Choosing Storage Containers That Actually Work
The container you choose can literally make or break your baked goods. It’s not about grabbing just any plastic box from the cupboard. Finding the best way to store baked goods really comes down to matching the right material to the specific texture you want to preserve.
Airtight vs. Breathable Options
Your choice ultimately boils down to how you manage moisture. Airtight containers, like glass boxes with locking lids or sturdy zip-top bags, are fantastic for trapping moisture. This is exactly what you want for soft items like muffins, brownies, and cakes with buttercream frosting. By sealing them in, you keep them from drying out and preserve that tender, moist crumb you worked so hard to create.
On the other hand, anything with a crisp or crusty exterior needs room to breathe. Think of a rustic loaf of artisan bread or a batch of crunchy cookies. A traditional bread box isn’t just for looks; it allows for just enough air circulation to stop moisture from building up and turning that perfect crust into a soft, leathery disappointment. Even a simple paper bag or a reusable food wrap can do the trick, keeping the outside crisp without letting the inside go stale too quickly.
Comparison of Common Storage Containers and Their Ideal Uses
| Container Type | Best For | Effectiveness Rating | Cost | Pros/Cons |
|---|---|---|---|---|
| Glass w/ Locking Lids | Cakes, muffins, brownies, soft cookies | ★★★★★ | Moderate | Pro: Completely airtight, non-porous. Con: Heavy, can break. |
| Plastic Containers | Most baked goods (short-term) | ★★★★☆ | Low | Pro: Lightweight, affordable. Con: Can absorb odors/stains. |
| Metal Tins/Boxes | Crunchy cookies, biscotti | ★★★☆☆ | Low to Moderate | Pro: Blocks light, good for gifting. Con: Not always fully airtight. |
| Bread Box (Wood/Metal) | Artisan bread, crusty rolls | ★★★★☆ | Moderate to High | Pro: Balances moisture perfectly for crust. Con: Bulky, single-purpose. |
| Zip-Top Plastic Bags | Quick storage, portioning items | ★★★☆☆ | Very Low | Pro: Inexpensive, flexible. Con: Less protection, can trap too much moisture. |
| Paper Bags/Wraps | Crusty breads, croissants (very short-term) | ★★☆☆☆ | Very Low | Pro: Breathable, prevents sogginess. Con: Offers minimal protection from staling. |
This table shows that having a few different types of containers on hand is your best bet. A glass container is perfect for that decadent chocolate cake, while a simple metal tin will keep your shortbread perfectly snappy.
Beyond the Basic Box
Don’t overlook the simple things. Placing a sheet of parchment paper between layers of cookies in a tin is a pro-baker trick that stops them from sticking and merging into one giant cookie mass. For anyone running a bakery or just baking a lot at home, it’s worth exploring specialized packaging. You might be surprised to learn how eco-friendly bakery packaging can also provide fantastic storage solutions. Read our blog post about it to find out more about sustainable options.
Ultimately, investing in a variety of containers means you’re prepared for anything you decide to bake. It gives you the flexibility to store every creation properly, making sure that the last bite is just as delightful as the first.
Fixing Storage Disasters and Preventing Future Failures
Even with the most careful planning, storage mishaps can happen to anyone. Maybe those perfectly crisp gingersnaps you baked went soft overnight, or a beautiful layer cake dried out even though you covered it. Before you think about tossing them, let’s talk about some proven rescue techniques. Knowing how to fix these common problems is a big part of mastering the best way to store baked goods.
Reviving and Restoring Your Treats
Most baked goods can be brought back from the brink with a little know-how. If your crusty artisan bread has gone stale, a quick spritz of water and a few minutes in a hot oven work wonders. This re-steams the inside while crisping up the crust again.
For soggy cookies, spread them out on a baking sheet and pop them in a low-temperature oven (300°F or 150°C) for about 5-10 minutes. This little trick helps draw out the extra moisture and brings back their satisfying snap. A dry, crumbly cake can often be revived, too. Just brush each slice with a simple syrup (made by heating equal parts sugar and water until the sugar dissolves) to add moisture and flavor back in.
Preventing Future Failures
The best defense is a good offense, and that means adapting your storage strategy to your specific situation.
- Seasonal Humidity: Live in a humid climate? Your trusty airtight container might actually be trapping too much moisture, creating a perfect environment for mold. Try adding a small food-safe desiccant packet or even a simple slice of bread to the container to absorb that excess moisture.
- Limited Space: When you’re baking for a holiday or a big party, your freezer is your best friend. You can bake many items ahead of time, wrap them well, and freeze them. This not only keeps them fresh until you need them but also frees up precious counter space.
- Transportation: If you’re gifting your delicious creations, think about the packaging. Sturdy boxes are essential for protecting delicate items like frosted cupcakes, while proper wrapping is key to preventing things from drying out during their journey.
Commercial bakeries have gotten really good at keeping things fresh, often using advanced packaging to reduce spoilage. Some have seen spoilage rates drop by up to 30% just by improving their storage methods. You can learn more about trends in bakery preservation and apply some of those same principles right in your own kitchen.
Your Complete Storage Success Blueprint
Let’s turn all this information into a practical system you can actually stick with. The best way to store baked goods isn’t about memorizing strict rules; it’s about building a flexible framework that fits your baking habits and your kitchen. Whether you’re trying to keep your daily bread fresh or managing a whole spread for a party, having a simple game plan makes a world of difference.
The Everyday vs. The Special Occasion
First, think about your daily routine. For that one loaf of sourdough you bake on weekends, the goal is straightforward: keep the crust crisp and the inside soft for a few days. A fantastic, low-effort method is to place it cut-side down on a wooden board and pop it inside a bread box. This simple setup maintains the perfect moisture balance without you having to think twice.
However, when you’re prepping for a big get-together, your strategy needs to shift toward batch preservation. This is where your freezer becomes your best friend. You can get ahead by pre-slicing cakes or cookies, putting parchment paper between the layers, and storing them in the freezer until the big day.
Creating Your Personal Action Plan
The real secret is adapting to your specific kitchen and lifestyle. If you live in a tiny apartment, a large bread box might not be practical, but a reusable beeswax wrap can do the job just as well. For those who love to bake in large quantities, investing in quality freezer-safe containers and a solid labeling system will be a game-changer.
Confidence in making these smart storage choices comes from understanding the why behind them, not just blindly following a chart. For businesses or home bakers who love to gift their creations, looking into specialized packaging for baked goods can help achieve that professional-level freshness and presentation.
Ready to put these principles into action with packaging that truly works? Explore the full range of bakery and takeout solutions at MrTakeOutBags.com to keep your creations tasting their absolute best.